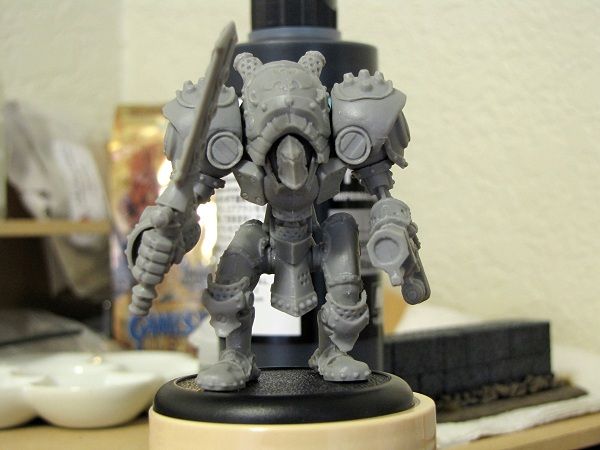
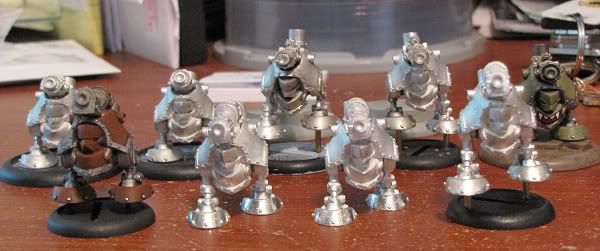
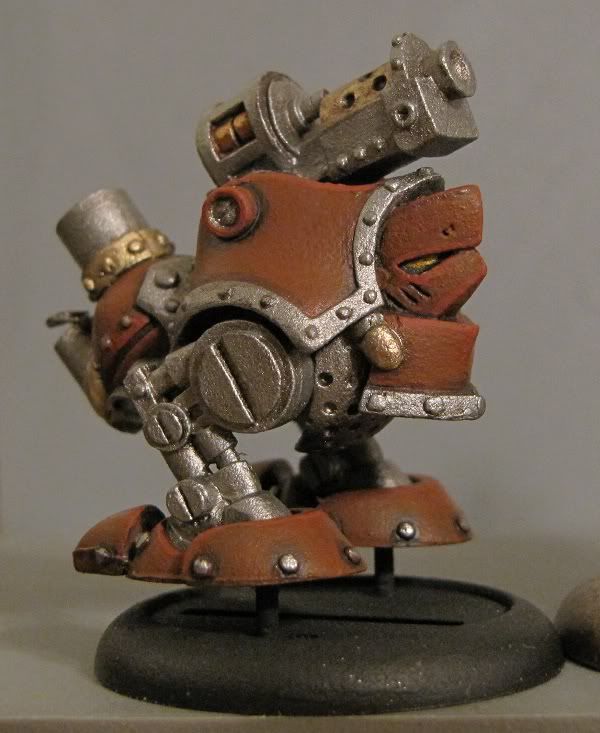
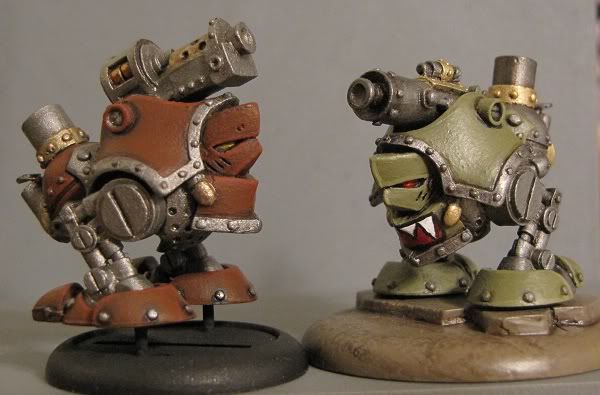
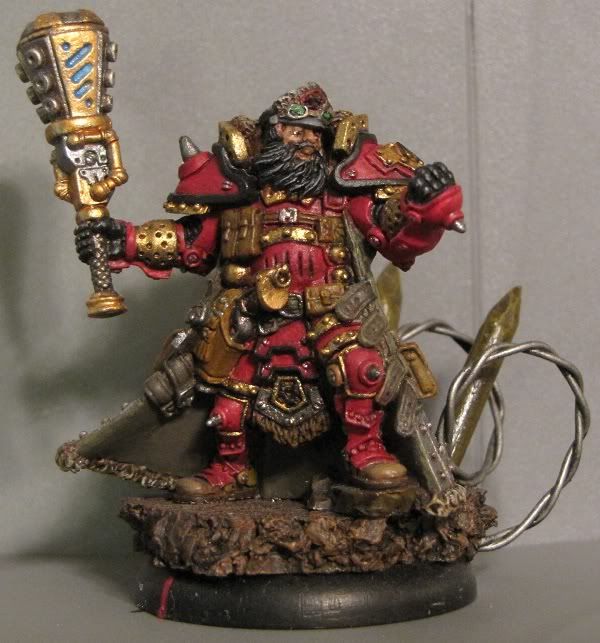
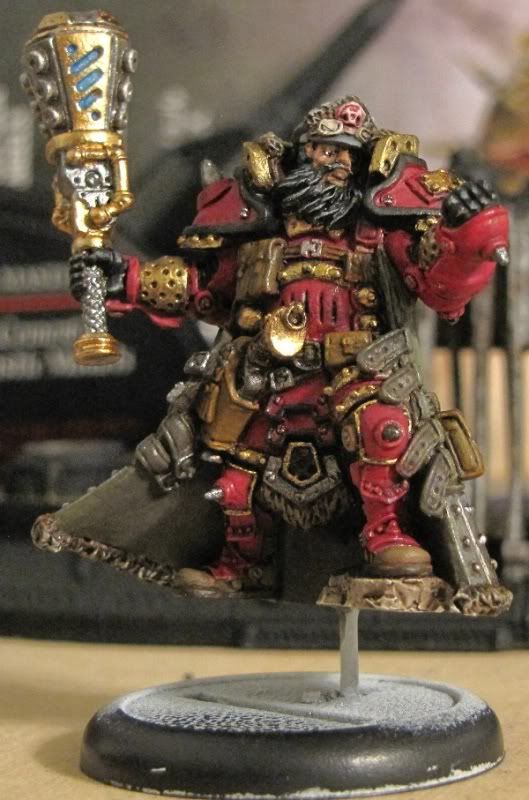
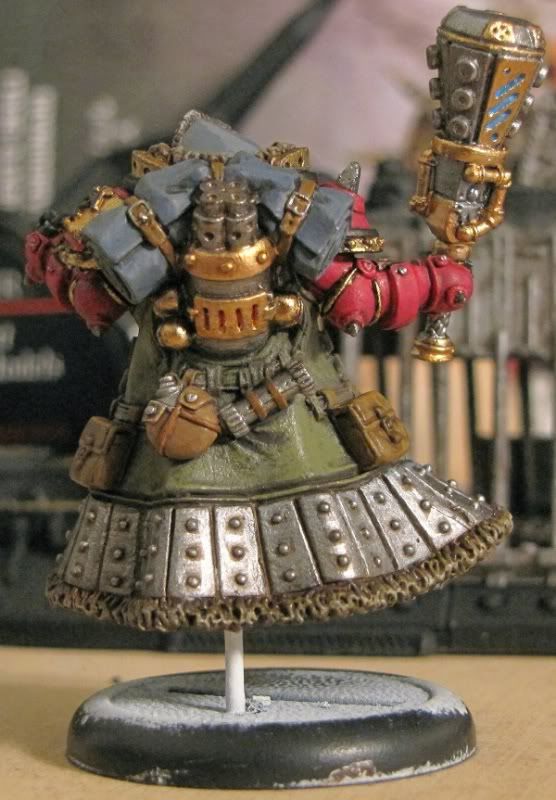
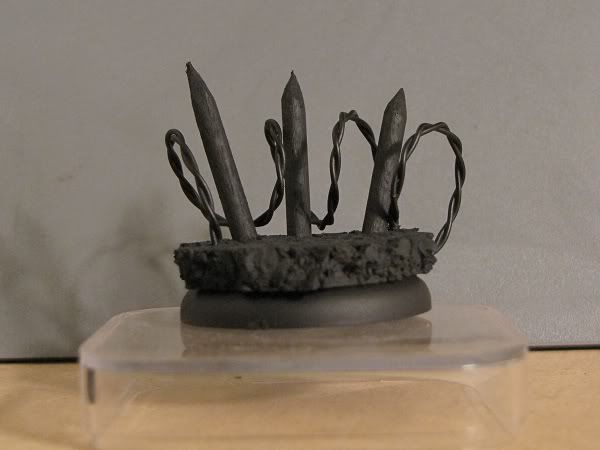
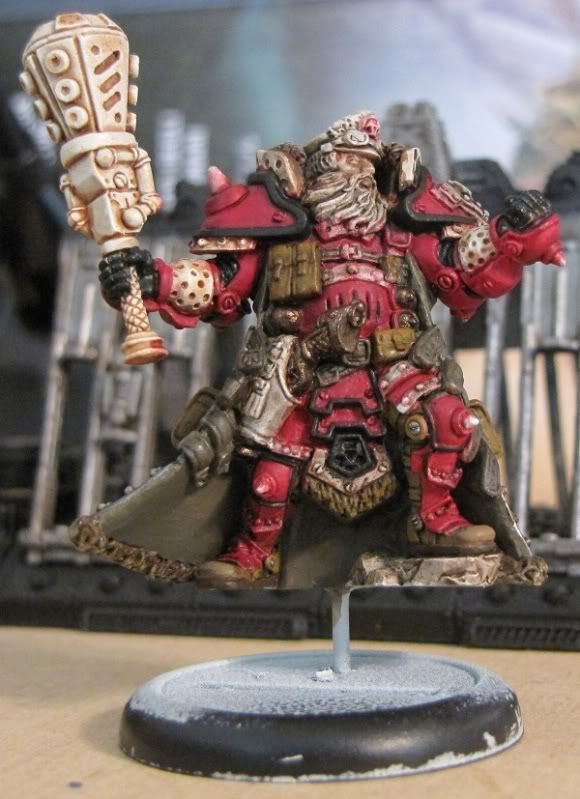
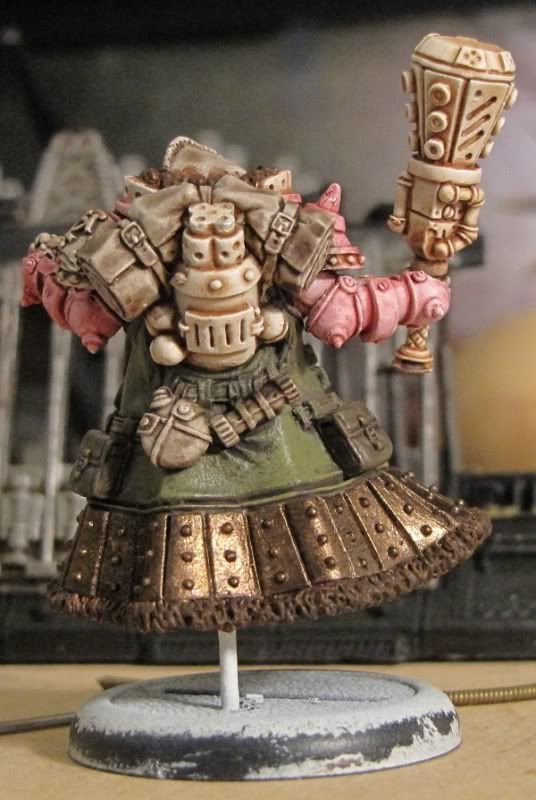
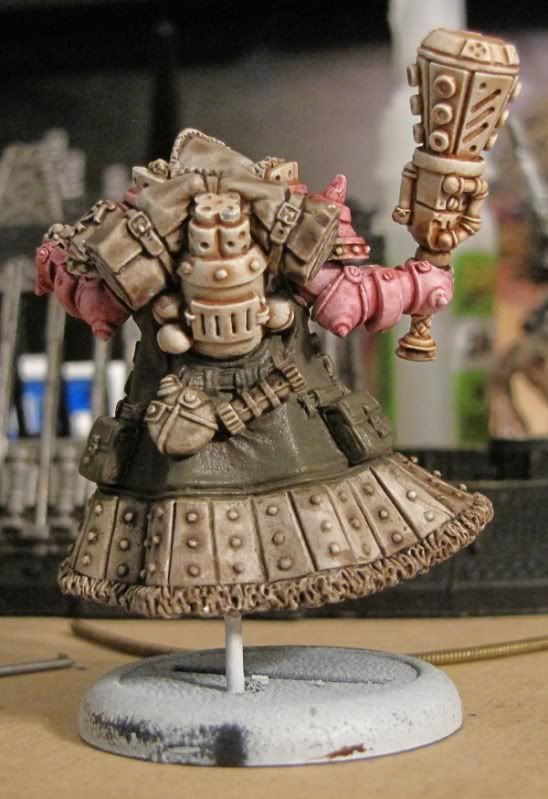
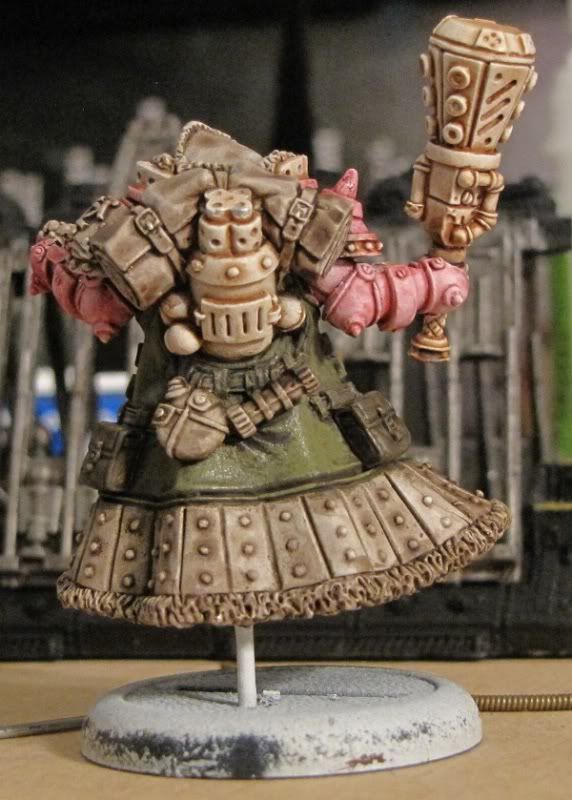
Showing posts with label Warmachine. Show all posts

Monday, August 12, 2013

Howdy! Been a while, I know...I missed you too!

There really are not any real excuses as to why I haven’t updated the blog lately , the  truth is, I just haven’t.  I also haven’t been painting as much as I would like but that is because of a shitty ass retail schedule a bunch of closes and not actually getting to sit down to paint until well after 9pm on most nights.  Again not real reasons…heck not even valid excuses.  I need to get back into the saddle when it comes to painting.  Plain and simple. 

Now in an effort to get back into painting, I am going to do two things. 

1)      Finish up the Mountain King – Just need to finish up the Troll Whelps crawling all over the big’un
2)      Paint up two battleboxes
a.       Cygnar (My original Warmachine faction)
                                                               i.      Stryker
                                                             ii.      Ironclad
                                                            iii.      Lancer
                                                           iv.      Charger
b.      Alternate Trollbloods  Battlebox from the Journeyman League Rules
                                                               i.      Hoarluk Doomshaper, Shaman of the Gnarls
                                                             ii.      Dire Troll Mauler (already painted previously)
                                                            iii.      Pyre Troll
                                                           iv.      Storm Troll

Next Monday I am being sent down to Fairfield to train for my new job, I am supposed to be down there for a month, yup a month…well at least 4 Monday-Friday Weeks. 

So during that time I am going to work on painting up both Battleboxes.  I ordered in Hoarluk and I purchased the plastic Pyre Troll Kit and Storm Troll Kit (very nice kits FYI).  I also had to order in a new plastic Charger kit, since the one I originally got broke. 

For the Cygnar Battlebox I am going to a slightly modified ‘studio’ blue theme.  I drew inspiration from the IKRPG Book and the picture they have of the Ironclad being given its Quake Hammer on page 301.  It is a bit more on the purple-side than I am thinking about going for, but the thought did cross my mind to do the purple scheme.  Really I just want the one white shoulder pad and the white cowl around where the ‘jacks head is. 

For the Trollbloods Alternate Battlebox…well I am going with the scheme I already have but seeing that the Storm Troll and the Pyre Troll are both ‘elemental’ trolls they will differ vastly from the scheme I am using on the full-blooded Dire Trolls and Trollbloods themselves.  Should be fun and make painting them up pretty interesting. 

I figure I should be able to do each battlebox in 2 weeks. 

Other notes of interest…I won two painting contests this month.  The Sons of Bragg won the Unit Category at NorCon 2013 and my Searforge Commission list which consisted of every painted ‘jack I own plus Gorton Grundback won the best painted army at the Convergence of Cyriss book release event held down at Matrix Games.  Pretty cool but in all honestly, I still have a baker’s butt-ton to learn about painting compared to my friend’s Jody, Aaron, Jon, and Kaleb. 


Wednesday, April 10, 2013

The Mountain That Walks again...

Some photo updates of my progress on the Mountain King.

 photo MtnK_003_zps5b349995.jpg

 photo MtnK_004_zpsab7b2c72.jpg

 photo MtnK_005_zpsb77d95c6.jpg

 photo MtnK_006_zps6fc115dc.jpg

More pictures to follow as I slowly work on the Mountain King.

Sunday, March 24, 2013

The Mountain that Walks.


It was pointed out to me the other day that I haven’t been updating the blog as much.

Tis a true statement. 

I have been rather lax in my updates lately and I am hoping to change that now that some major life events, which have caused some upset in my painting schedule, are calming down.  It has been a rough February and March, but I shall not bore you with details. 

I have been getting in some painting lately.  Not a whole lot but some.  I started in on Durgan Madhammer got about ¾ done with him and then decided I didn't like the colors and so dunked him in some of my favorite liquid, Super Clean, and stripped the paint off of him.  Now I just need to reprimer him and start over =)

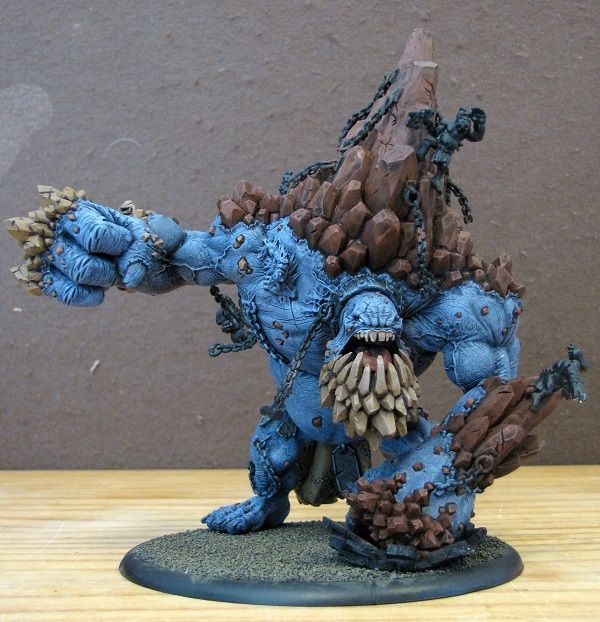
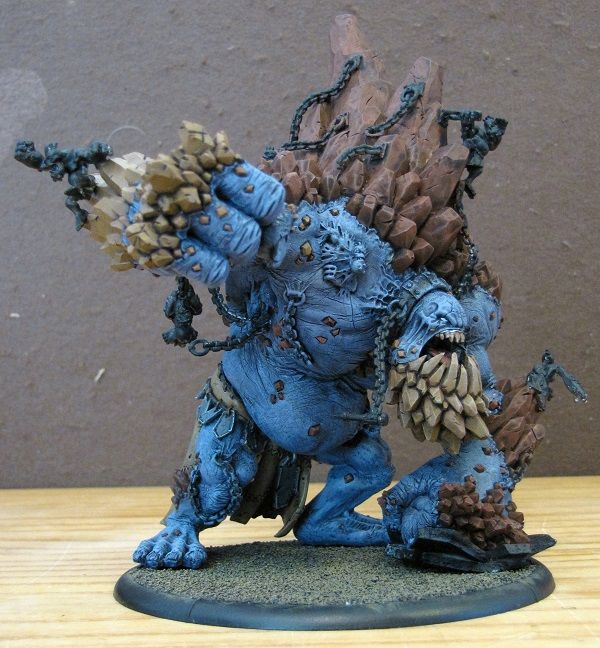
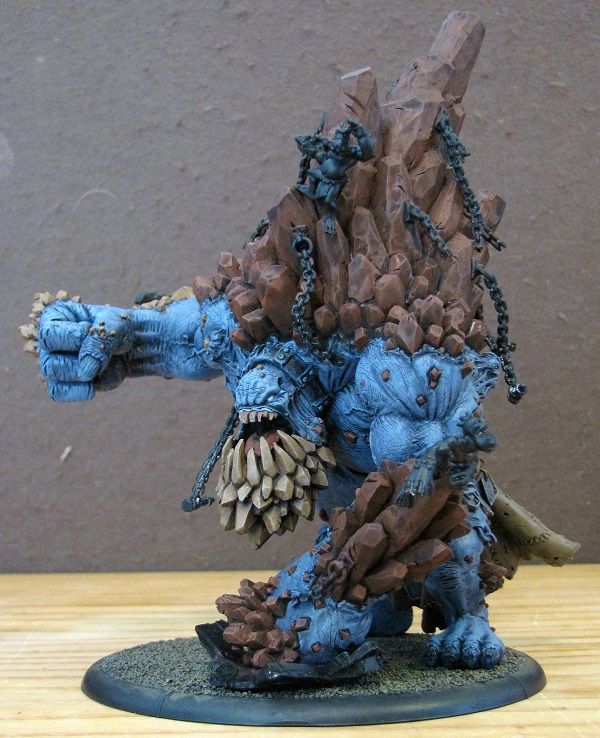
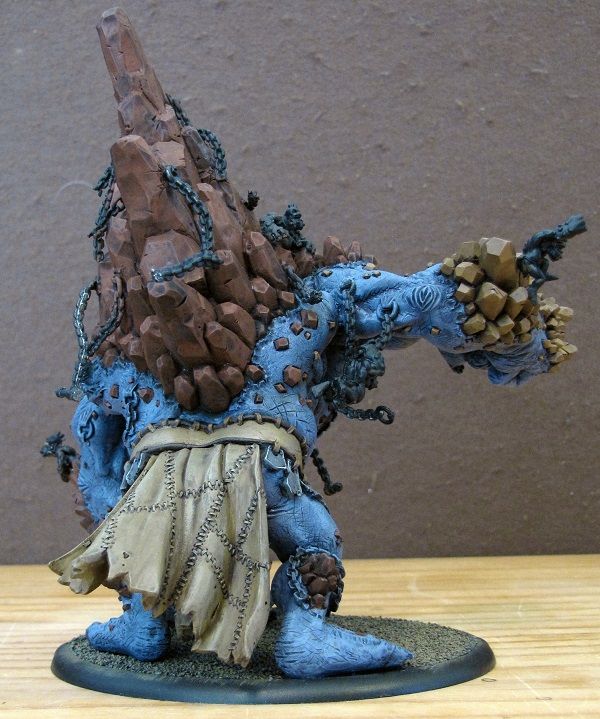
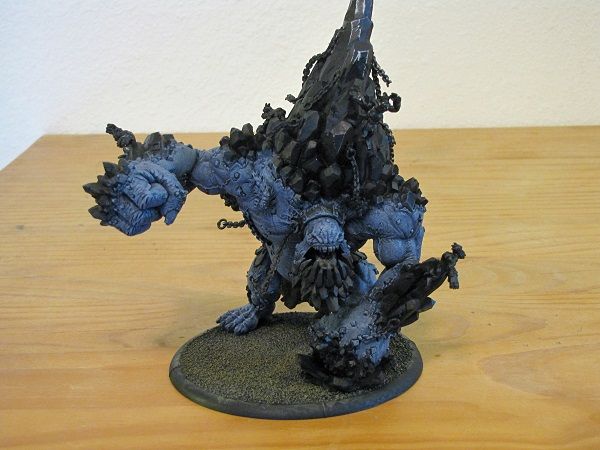
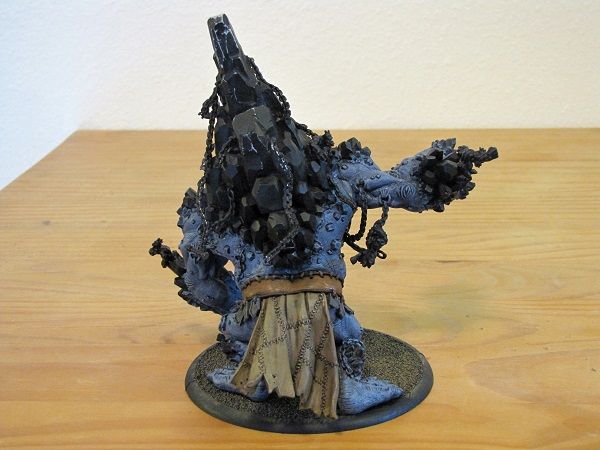
I have been working on the largest model I own to date and that is the Mountain King.  There is the book release event for Gargantuans at the end of April that I am going to go to, so I want to have the Mountain King painted up for that.  I have gotten his skin tone done and really, I just did a quicky couple of layers.  Base coat, wash, and then lots of drybrushing. 

The detail on the skin is amazing.  Cuts and scratches not to mention musculature, so rather than have my bumbling hands muck up the awesome detail…I just drybrushed the entire model (five or six times). 

 photo MtnK_001_zps30094ad3.jpg

Yup, I took the cheaters way out.  

I am almost done with the bottom portion of the Mtn King that would be impossible to reach if he is glued to his base, i.e. certain areas below the belly.  Once I finish that up I will glue him to his base and then just go on a crazy painting spree to finish him up in short order.  For that to happen I need to put one more layer on the leather belt and then give the model a thorough once over before I glue it down. You can see the parts where I have had to hold the model by the top 'mountain spire' so that I could paint the under-carriage.  When I get him glued to his base I will reprimer the top portions of the mountain with my air brush.  

 photo MtnK_002_zps65f5abe6.jpg

Just wanted to give a quick update really. More to come, more often, I promise.


Wednesday, February 6, 2013

Can you smell what the Rockram is cooking!?!?!?!

Quick update! 

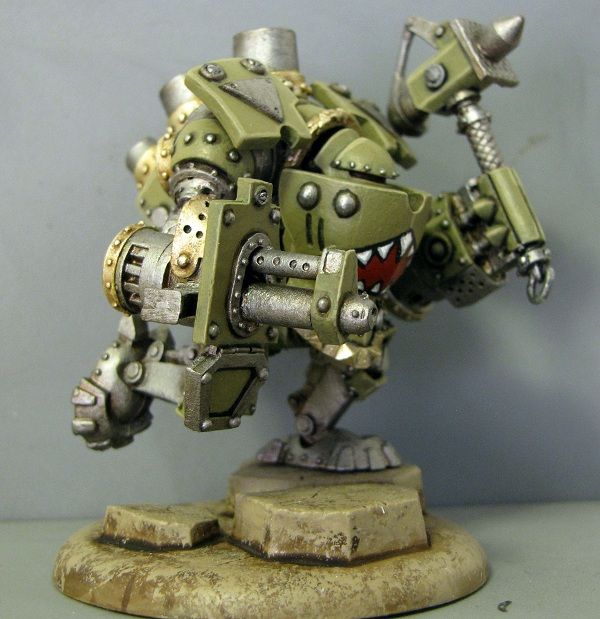
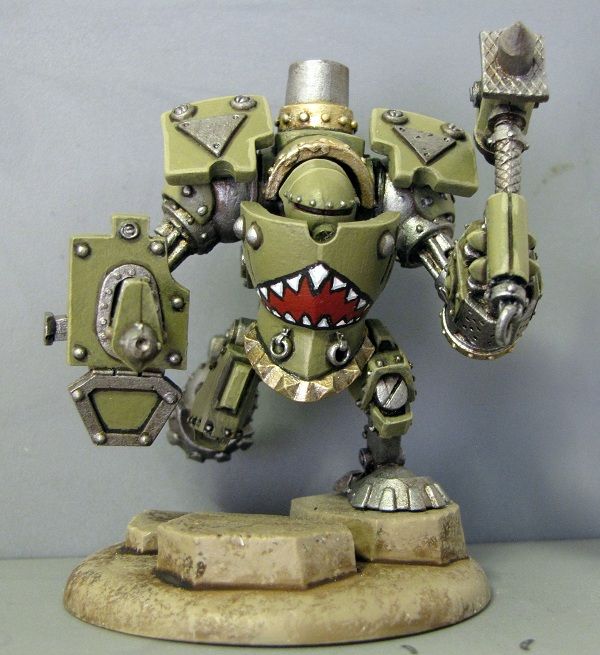
I finished up General Ossrum's Little Buddy!  

Wroughthammer Rockram
Photobucket

Photobucket

Photobucket

Not sure what is next on ye ol'chopping block.  Might finish up the primer'd Durgan Madhammer I have been sitting on for a few months...err year or so.

Tuesday, January 29, 2013

General Awe...wait for it...some is here!!!


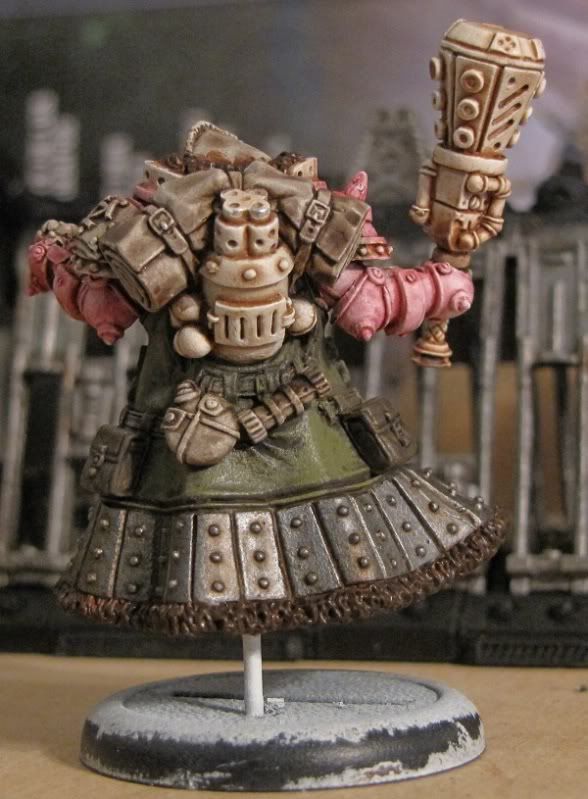
That's right folks, General Ossrum is painted up and ready to take to the field.  Scottie-too-Hottie got him for me because he is a cool guy and I got him half way painted up and then got distracted by plenty of other painting projects.  A Knight of Morrow for an IKRPG game, a 25pt Circle Orboros Holiday Bundle, the last two remaining members of the Sons of Bragg for my Trollkins…

And that is when I took a step back and realized that I had way too many unfinished projects in the works and that I needed to focus on finishing up one task before I started another.  Since I really wanted to play Ossrum, I needed to finish his paint job.  I was sent down to Stockton/Lathrop for training for Target (yup switched jobs and jumped ship to a different pharmacy) I had plenty of time to finish him up.    
Photobucket

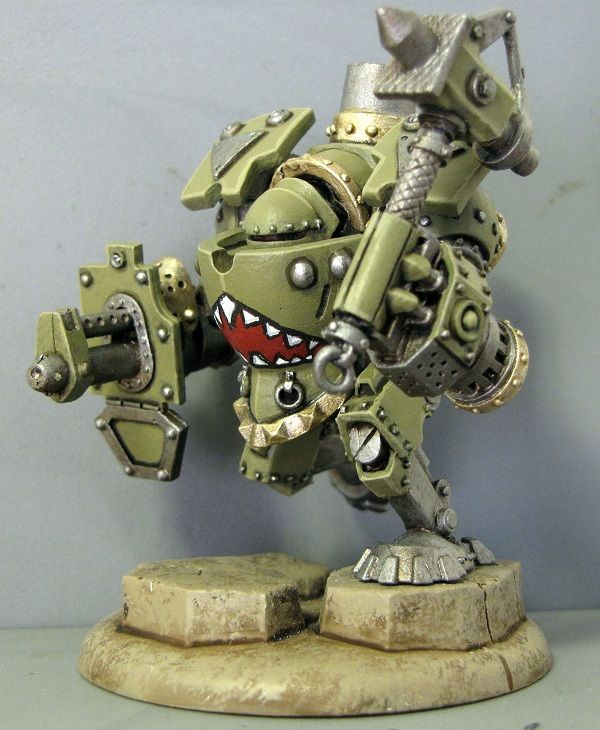
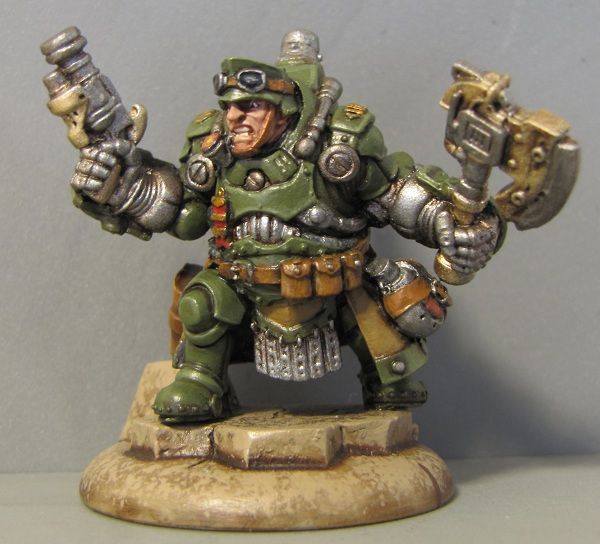
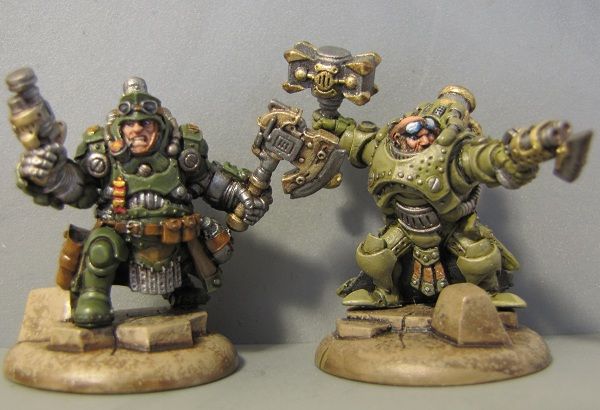
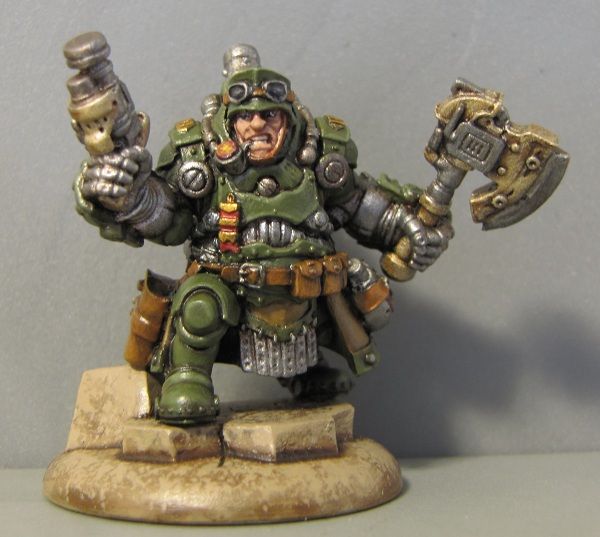
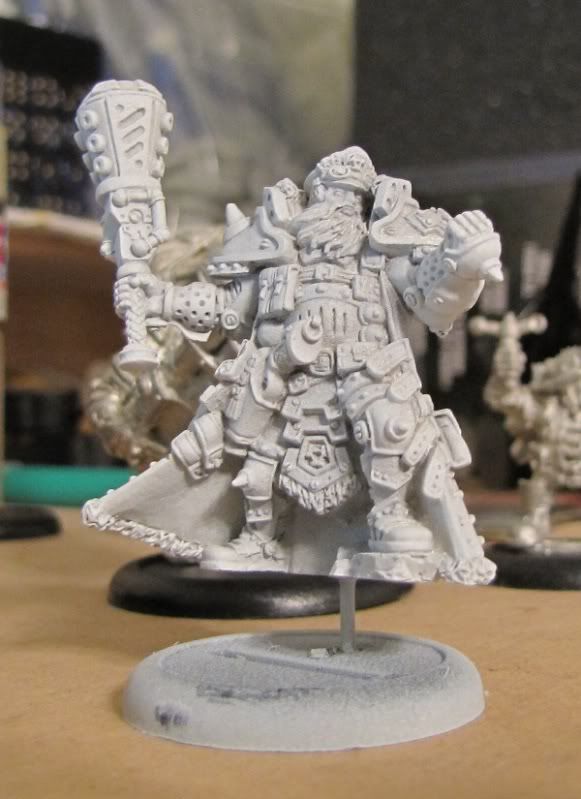
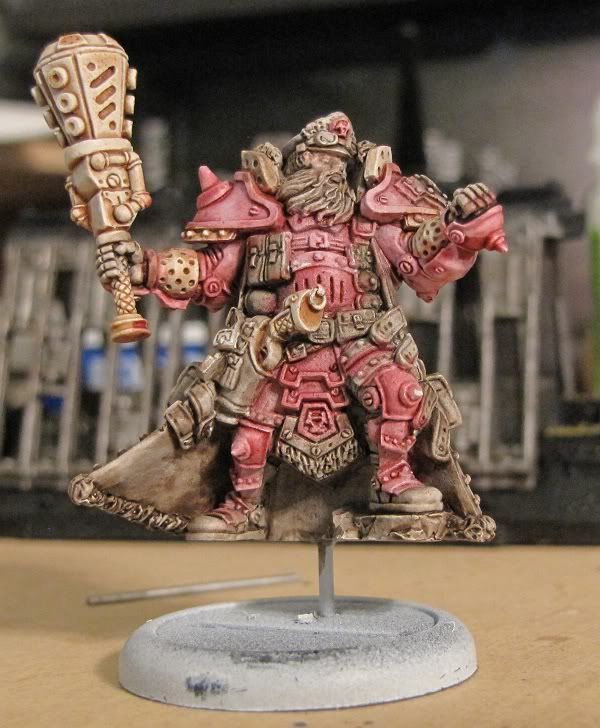
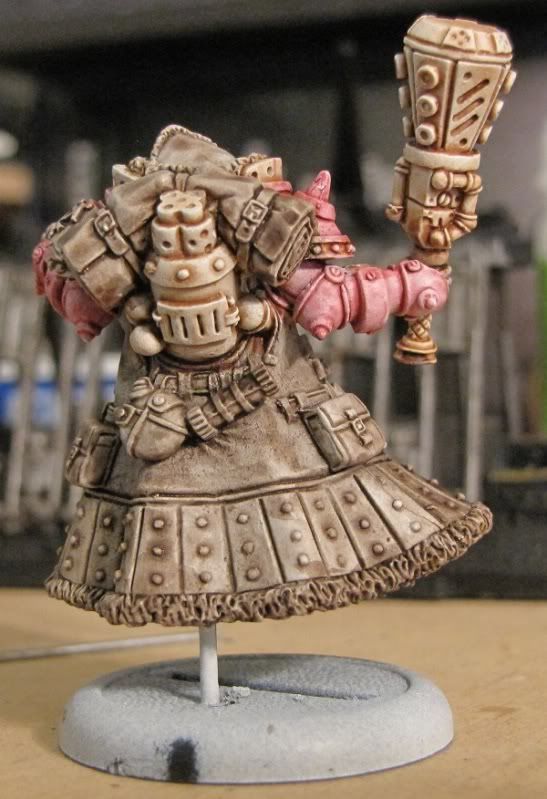
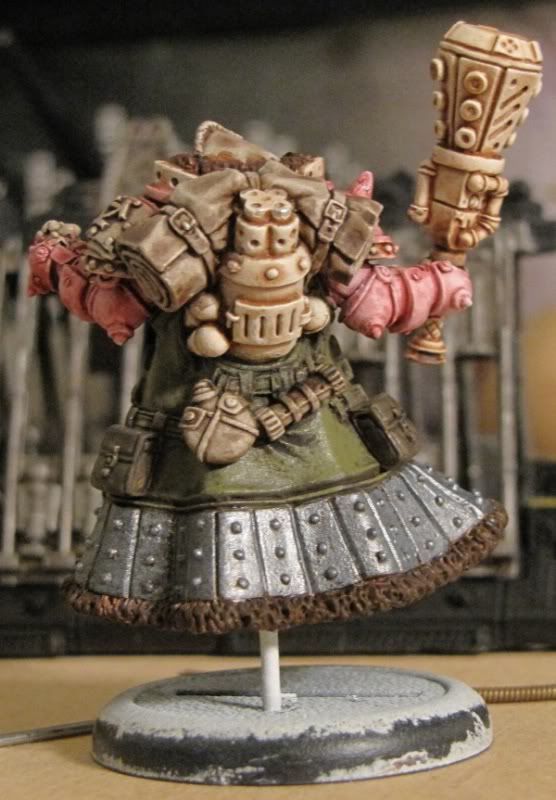
Well, really all I had finished on him originally was the metals.  I started working with all the armor plates.  Instead of using the P3 paints I went with the Vallejo Caymen Green.  It is a little bit darker but overall it will fit in with the green theme of the Searforge Army I have going right now.  Even the dark red Grundback Blaster fits into the overall theme of the army and eventually I will finish painting up all the Gunners and Blasters that I have (light green and dark red).

Photobucket

Aside from switching up the greens a little bit, I followed the same formulae I used for the other models in the Army.  Green base coat, heavy Devlan Mud (or whatever it is called now) wash, second go around with the green, mix in some bleach bone (or whatever it is called now) for the edging and call it a day.  I mimicked (mostly) the studio paint scheme with the blocking of the colors.  To break it up a little bit I added in a tan brown for the bottom of the great coat and one of the front armor plates.  I am pretty happy with the look of the model. 

Photobucket

Again, I hate doing eyes…I can never get them right…ever! Damn you tiny eyes!!! DAMN YOU!!!

I’ll be working on finishing up the Sons of Bragg before I move on to the Circle Orboros Army. 

There is a 35pt Tourney on the 9th of Feb and I am seriously debating throwing some Searforge on the table and rocking with them.  I have never played the Searforge Commission in a Tourney and at 35pts I have some pretty rock solid lists for all the armies that I own.  Though I am tempted to bring Kara Sloan to the table just because I haven’t played her in a really long time and she is one of my favorite casters for Cygnar.  

Wednesday, October 3, 2012

To become or not to become a Spartan Vanguard...that is the question.

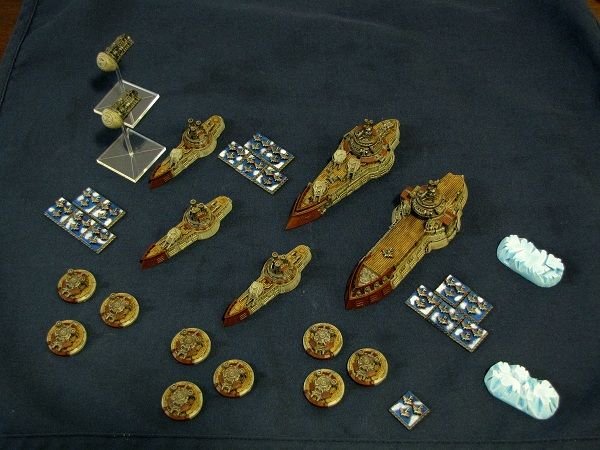
I finished up the Russian Coalition Fleet, Tiny Flyer Tokens and all.  So I submitted my application to Spartan Games for their Spartan Vanguard Program.  They ask for up to 14 days to process the application, so now I get to sit and wait.

When I set up both fleets for pictures, I realized that I really liked the Russian TFTs turned out.  So in the future (at some point), I am going to be striping my Covenant of Antarctica TFTs and repainting them up all blue sky and flying like I did the Russian Coalition TFTs.

Photobucket

Since painting up both Fleets quick, dirty, and table-top worthy, I definitely believe that the Russian Coalition fleet came out better.  I am sorely tempted to strip and repaint up my Covenant Fleet but I am going to try and stick to my guns and leave it as is, rather than change it and possibly make it worse similiar to how George Lucas fucked up the original Star Wars trilogy.

Photobucket

I placed a rather large order with Battlefoam the other day.  With the sheer amount of Trollbloods that I own now (Hush Scott!) I figured it was time to get some foam and fill up my P.A.C.K. Air.  So 5 custom cut foam trays are incoming as well as trays for my Storm Strider, a Stormwall, the Mountain King and the War Wagon.  I figured since I would eventually own all those models (having recently purchased a Mountain King, and already owning a Storm Strider) I should own the foam to protect them.  The new foams will also allow me to store all of my future purchases for my Searforge Commission lists and Trollblood lists as well as possibly storing other random models.

For my next project I am going to finish painting up the Runebearer for the Trollbloods and paint up Borka Kegslayer and his brew buddy.  Hopefully by then, I shall have General Ossrum firmly in hand and will paint him up and the Wroughthammer Rockram for my Searforge Commission army.


Saturday, September 15, 2012

Magnets to the MAX!!!

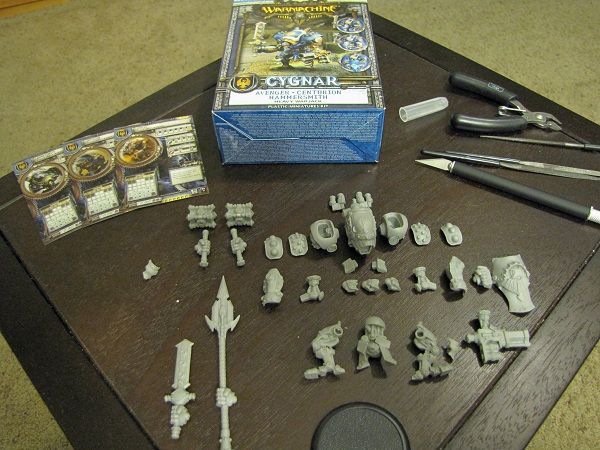
Did a bit of hobbying this week while I was working on my Russian Coalition models.  I bought the new Cygnar Heavy Jack Kit  and inside it contains all the pieces to assemble either a Centurion, a Hammersmith, or an Avenger.  As you can see there are a lot of bits to the model.  For those of us who have a grip of magnets from K&J Magnetics however, it has all the parts needed to assemble all of three Warjacks!!!  Oh the joys of magnets.

Photobucket

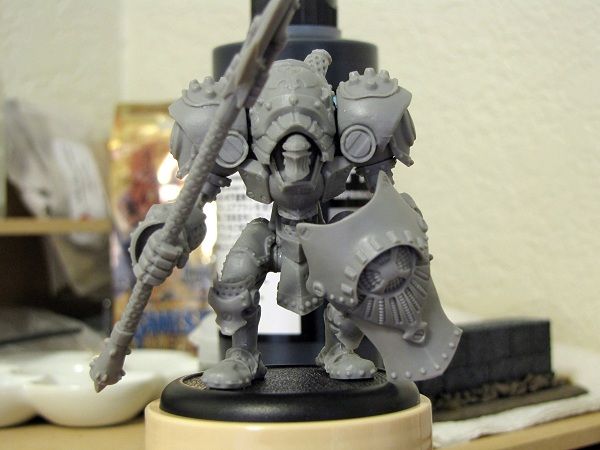
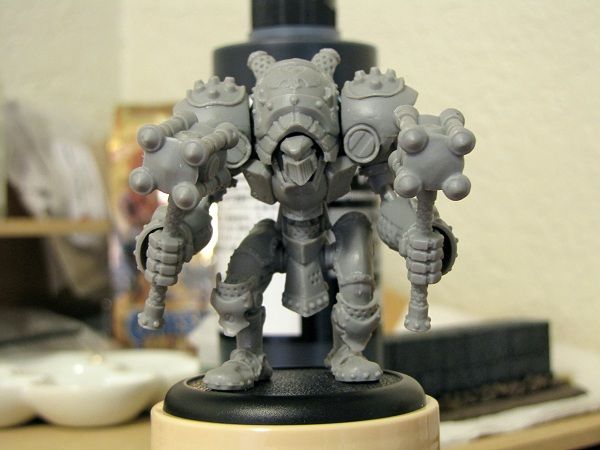
I choose to go with just one set of shoulderpads vs. swapping them in an out.  The shoulder pads were a bit tight and didn't fit very flush...at least not until I applied a subtle amount of pressure with the assistance of some clamps.  If I buy another kit, I'll use the other shoulder pads to help tell them apart.  The idea of jack-bulleting a pair of Hammersmiths across the board is pretty darn tempting

All of the arms and all three heads are magnetized.  I added guide pins to the left arm which holds the Centurion's Piston Spear and to the hand that is holding the spear.  The spear on the plastic Centurion compared to the metal Centurion is much more appropriate in scale and also rather un-wieldy with just a magnet holding it in place.  I am debating adding guide pins to the Avenger's sword and the Hammers...but as of yet, I don't think I need to.  Once I get a few games in with the model, this decision may change.

Centurion
Photobucket

Hammersmith
Photobucket

Avenger
Photobucket

Back to working on more TFT (tiny flyer tokens) for the Russian Coalition

Wednesday, June 13, 2012

A Pair of Bunnies

Well in an effort to get back onto the painting wagon, I finished up the Grundback Blaster.  Even gave him a toothy grin.


And here is the Blaster and the Gunner striking a pose.


I need to be a bit more careful when I am pinning them to the bases, they look like they are hovering...not intentionally of course but I am thinking that when I glue the pins into the feet there is some excess glue that drys up and doesn't let them fit as snug as I would like to the bases.  I'll have to keep an eye out on the next few Gunbunnies I am working on.

Thursday, May 10, 2012

Stoopid AT&T


Well the idiots over at AT&T struck again.  We turned off our landline on Monday, mainly because it was costing us $40 a month that we didn’t really need to be spending.  So the wife calls and cancels the landline but says we are going to keep the internet.  She is then told that there will be a slight interruption in internet service when the phone is turned off.  Well the f*****g retards at AT&T cancelled both the phone and the DSL.  Idiots! 

So I called today, calmly called them all idiots and told them to hook my internet back up…now.  Surprisingly enough, they did.  I went home for lunch today and the AT&T Tech we there re-hooking up the internet.  They are still idiots but this AT&T tech (at least for today) is my hero. 

No internet = No Updates but I do have a quick group shot of all the Gunbunnies lined up.  This is what I am currently batch painting right now. 

=) 

Photobucket

Now only if I had enough focus my casters to allocate all those little basterds just one focus and then open up on somebody…

Tuesday, May 1, 2012

Searforge or Bust!!


Back in the Searforge saddle again so to speak. 

I made a decision to work on painting up my Searforge Commission army in its entirety instead of working on the Lamenters.  Painting up another Space Marine Army was just too painfully tedious and while I am dreading telling Aaron that I am not going to be partaking in the Badab Wars at NorCon this year,  I am super glad that I am back to painting what I actually want to paint instead of pushing it off for some other project.   I can hear you all know moaning and groaning about how I have done this before, I just hope I don’t disappoint this time around.  Keep me focused people!!!!

A good place to start is with all the Gunbunnies I have in my Battlefoam case; four Grundback Gunners and four Grundback Blasters, all on the painting chopping block right now.  I am going to take this army in small chunks and the Gunner and Blasters tend to paint up fairly quickly.  Here is the first Blaster I finished.  Now if only I can figure out what kind of nosecone art to put on this guy, I will call him finished

Photobucket

I wanted to try something a bit different with the color scheme.  The drab green will of course be the primary color in the army but I wanted to mix up the ‘Bunnies just a bit…so the Blasters got a nice coat of Dark Flesh.  A very nice reddish brown in my opinion and when put next to my only painted Gunner (which I hope to remedy very soon) they look pretty snazzy together.  I also needed a test model for the color because I am debating painting up Durgan Madhammer in this red-brown scheme.

Photobucket

The Dark Flesh also gave me a chance to mess around with some more of the Vallejo colors. I used the Terracotta as the highlight and I also messed around with the copper and bronze.  Nice colors and they flow off the brush really well.  I also used the Tinny Tin color which is the Vallejo equivalent to TinBitz and it performed as well as the TinBitz. 

Of course I am going to have to order up another round of Dragon Forge Ice Kingdom medium bases soon …I don’t have enough for all Gunbunnies hopping around.

Oh...on a rather funny side note, I used the Driller I painted up for the 2011 Breast Cancer Brawl painting competition this last weekend in a game against Wes (a filthy Menoth player) and while I lost the game, I did happen to use a very pink Driller (with Strength of Granite on it) to utterly destroy the Avatar of Menoth.  The poor Avatar was damaged beyond wrecked.  Ahhh...to the small victories in life   

Tuesday, April 24, 2012

The Great Wall of Grundback


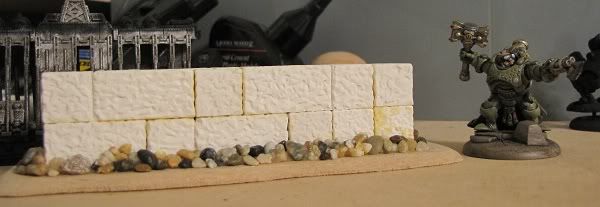
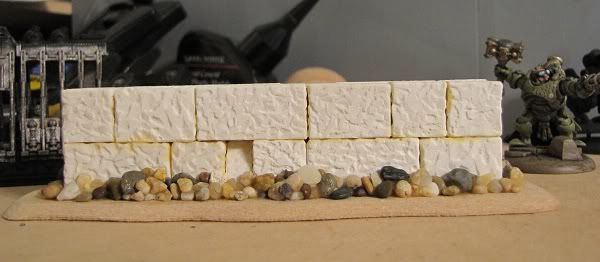
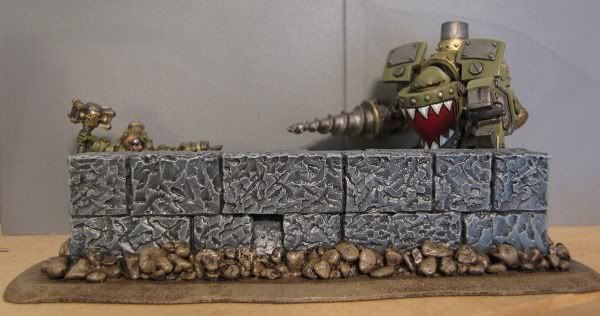
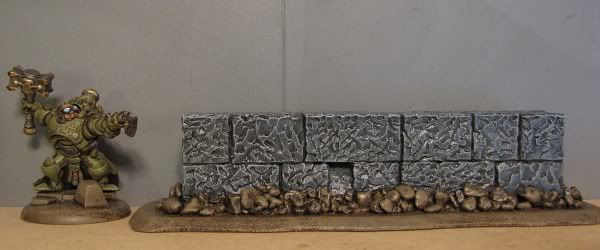
So I painted a wall.  Yup…a wall.  Nothing crazy awesome about that but building the wall was freaking awesome!  Joel has gotten these molds from Hirstarts.com and using hydrostone is casting these molds.  I mean think of adult Legos but with hydrostone blocks.  So I decided I needed to build a Rock Wall.  Gorten Grundback’s Rock Wall. 

Freakin’ Sweet!  I have already collected another batch of these amazing bricks from Joel and I am building a cistern.  Since they are Joel’s molds and materials I didn’t take a ton of them and on top of that I gave Joel some money (not sure if it was enough or not) for ‘permanently borrowing’ his finished product.

Anywho…

Here it is.  One sweet ass looking Rock Wall Template for use in my next Warmachine game.

Photobucket

Photobucket

Photobucket

Photobucket

Photobucket


I am seriously contemplating buying a few molds and making some sort of deal with Joel…

Thursday, April 19, 2012

The Iron Wolf


All done. Sealed him tonight.  

Photobucket

 What to paint up next?


Monday, April 16, 2012

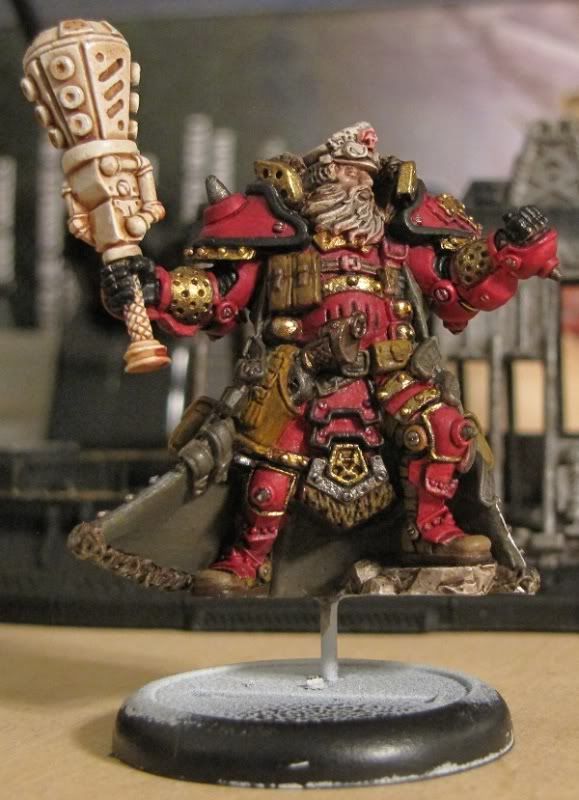
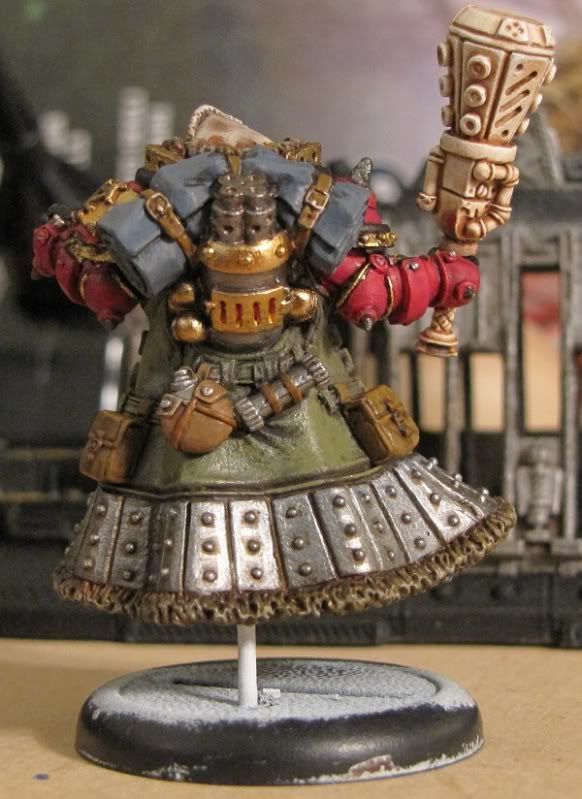
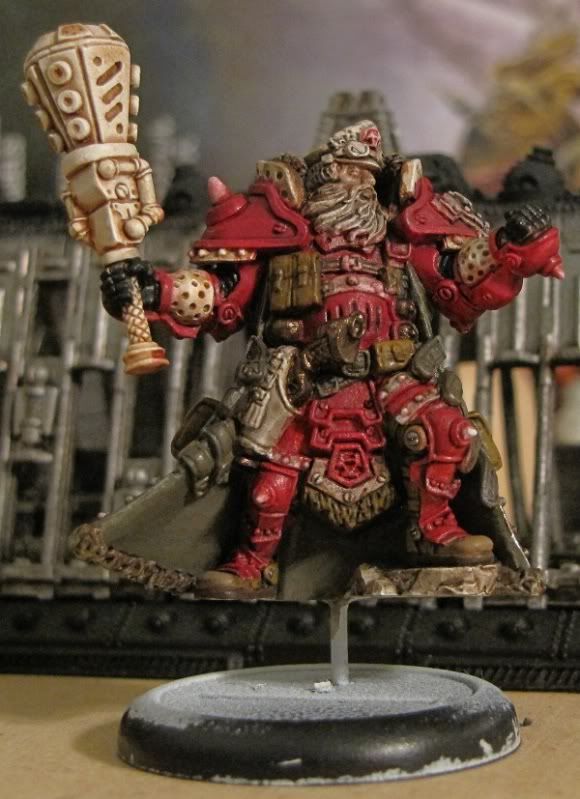
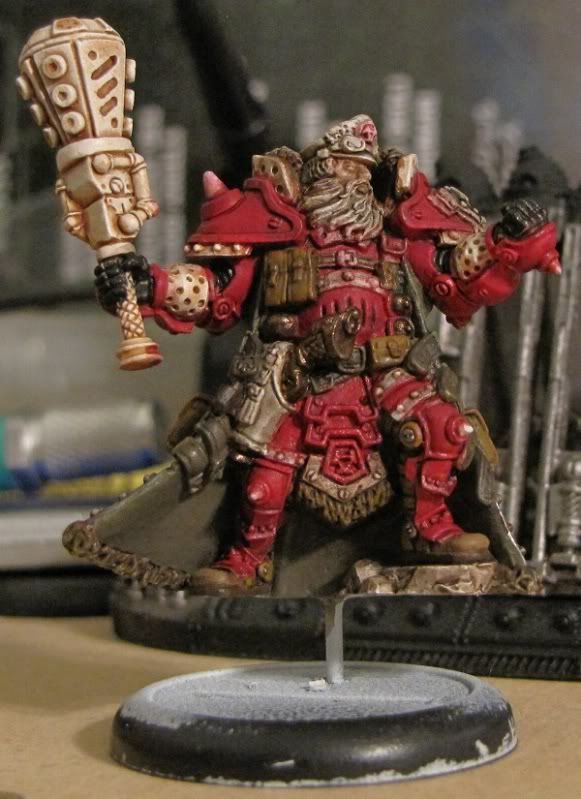
Project Log: Kommander Harkevich the Iron Wolf, Part VII

I hate faces!!

Photobucket

I really hate faces!!

Photobucket

Faces suck balls to paint!!

Photobucket

Almost done with this guy.  Painting up the base and mounting him this week, then doing some final touch ups and calling him finished.

Sunday, April 8, 2012

Project Log: Kommander Harkevich the Iron Wolf, Part VI


So I have been utterly horrible with updates this last week.  Sorry.  Had a rather odd schedule at work and not a lot of time left for painting, toss in a holiday, some other random events and all of a sudden…a whole week has gone by without really touching a model or paintbrush.  I have done some work on Harkevich.  I started in on the metal piping and the boiler.  I also received my order for the Vallejo Game Color line.  72 new paints to work with!!!  I have had a limited exposure to Vallejo paints, so little in fact that I consider myself to be learning how these paints flow from the brush…so far, I am really impressed. 

Quick rundown on colors; Metal starts out with Tin Bitz (GW) and then gets a wet-brush/dry-brush coat of Boltgun Metal depending on the size of the area and how early I am in the process of painting the model and then touched up/highlighted by a slight hint of Chainmail (GW).  If I am going on to gold or bronze then I will just add a layer on top of the boltgun and use a mixture of Shining Silver and gold for the last highlights.  Well…Tin Bitz Layer, Check!  Boltgun Layer…replaced with an over-brush layer of Gunmetal Metal (Val), Check! Bronze Layer is an over-brush of Bright Bronze (Val) and highlight layer of Gunmetal Metal mixed with Bright Bronze.  I need to go in and wash the bronze with a 50/50 mix of Gryphonne Sepia and Water to add a final layer. 

Photobucket

I also finished up the blanket (positioned on top of a hot boiler…) by first starting with a layer of Fenris Grey (GW) and then washed with Delvan Mud (<-----Man I love this stuff).  A second layer made up of a mix of Fenris Grey/Adeptus Battlegrey.  Final highlights are just done with Adeptus Battlegrey on the ridges of the cloth blanket. 

Photobucket

Anyway, sorry for the lack of updates and the shortness of this update but I should be able to put more paint to model this week and I will be posting regular updates with my progress, and since we are almost half way through April, I don’t have much time left to finish up the model.  Oh and I still need to work on the base…

I also touched up the armor spikes and bands around the armor as well.  Still a bit more work to be done on this guy and I'll be damned if I let something as stupid as my broken back get in the way of me paintinga minimum of two hours a night. 

Fun times!

Wednesday, March 28, 2012

Project Log: Kommander Harkevich the Iron Wolf, Part V


Just a quick update. 

I wanted to show the work I have done on the armor.  First picture is of the armor after a light wash of Devlan Mud.  As you can see it really darkened up the armor.

Photobucket

The second picture sees another layer of Red Gore, paying special attention to leave the recessed areas dark.  I know it doesn’t look like much changed but the shine from the wash is dulled down and the red is revived just a bit.   

Photobucket

Third picture shows the black that I added to the armor to break up the monotony of the red and the black around the knee caps and elbows will eventually get a coat of gold on it. 

Photobucket

I need to go in and do the spikes, screw heads, and rivets next.  

Tuesday, March 27, 2012

Project Log: Kommander Harkevich the Iron Wolf, Part IV


I finished up with Harkevich’s cloak.  Why I focused on that versus say the armor, is beyond me, I just started painting the cloak up and wanted to finish it.  When I first saw the model I didn’t really pay attention to all the little things on the over-coat like the canteen, the two pouches, and the map/scroll case. 

Pretty neat stuff and the more I was looking at those little items the more I really began to like the aesthetic that Privateer Press has given to the Khador miltary.  I served in the USAF and while I was deployed to Saudi Arabia I remember all the little bits and pieces that had to go onto my uniform.  Gas Masks, multi-tools, ammo pouches, flashlight, radio, canteen, you name it and it had a spot on my gear.    When I would put on my uniform I had to make sure that everything was in its appropriate place and I am seeing that attention given to the Khador models and it calls to that military part of my soul. 


Moving on, to finish out the cloak, I finished up the metal plates first.  I went in and touched up the plates with Boltgun Metal after the Gryphonne Sepia layer.  I tried to leave that nice little ‘sepia’ colored ring around the studs to help add depth to the plates.  Since I didn’t have Mithril Silver (GW) any more, I went with Honed Silver (Reaper) and along the top edges of the plates just added a nice little line.  It is very hard to notice unless you are up close and personal with Harkevich. 

The next item to tackle was the bags, canteen, and scroll case.  The bags I used Bestial Brown (GW) and then hit up with a heavy Gryphonne Sepia wash, followed by another layer of Bestial Brown and a final highlight of a Bestial Brown/Bleached Bone mix.  For the Scroll case, I figured a good ol’fashioned metal case would work, so I hit it with an over-brush of Boltgun and painted the straps with Vermin Brown (GW).  The canteen case saw me go back to Graveyard Earth (GW) and Gryphonne Sepia Wash, which I used for some of the leathers on Harkeviches boots.  Now the cloak is pretty much as done as it gets…for the moment.  Once I get in some work on the Armor I will come back through and do some final highlighting and lining. 

I also worked on the boiler a little bit.  First thing I did, was put some Blood Red (GW) in the boiler, where the fires would be, then I went in and instead of going the entire length of the vent, I went half way down with Blazing Orange (GW) and then did the same thing, a quarter of the way down with Golden Yellow (GW) to give the nice fire-like effect.  No crazy cool blending but nice and simple to convey what I want.  I need to add in the bronzed areas to the boiler and the piping but again I am going to wait until I get closer to finishing the armor plates.


For the Armor plates I went straight to Red Gore (GW).  A nice deep red, that doesn’t have the purple tint to it like the Scab Red has.  When it is layered on top of the white primer and red pre-wash man does it stand out!  I ended up doing 3 or 4 thin layers of the Red Gore to get the even coat and I am debating on washing it to add some extra shading to the recessed areas…hell I am not even debating it, I am going to do it, just need to decide on if I am going to use a Baal Red Wash or Gryphonne Sepia (did I mention that I used the Sepia wash a lot??)  Once I get that wash down, I will put down another layer of the Red Gore, staying away from the shadowed areas, and then add in some final highlights along the raised portions.  

Until next Project Log update, keeping painting and best of luck in any of the games you might play!


Saturday, March 24, 2012

Project Log: Kommander Harkevich the Iron Wolf, Part III


This week was busier than expected so I wasn’t able to paint as much as I wanted to.  I ended up closing 3 nights this week and on the nights I was off they were jam packed with other things.  Well I did get in a 50pt game versus Wes down at Matrix Games…so I suppose I could have painted a bit more.

I figured I would continue along on Harkevich’s over-coat.  I put down a layer of Scorched Brown (GW) on the fur portions of the over-coat and behind Harkevich’s head.  I broke out the trusty Tin Bitz (GW) and put down a solid even layer of on the metal plates of the over-coat.  This is nothing new.  I always start most of my metals with a Tin Bitz coat because when dry brushed over it gives the metal a very nice aged quality.

Photobucket

Instead of using Boltgun Metal, I used Shadowed Steel (Reaper).  Boltgun has a much darker hue to it, while the Shadowed Steel has a brighter metallic look to it.  Instead of drybrushing on the layer like I usualy do, I did a few thin layers and got another flat even coat.  The Tin Bitz is barely showing through but that is okay.

Photobucket

Now comes the wash.  Certain Washes are just super versatile.  Delven Mud and Gryphonne Sepia  are the two washes I use the most. In order to dull down the bright metal I put down a heavy Gryhonne Sepia Wash, which is also great for also helping to ‘age’ the metal.  My next step after this is going to be adding another layer of the metal and instead of drybrushing, I am going to add some edge highlights and pick out the studs.

Photobucket

I also did up his boots.  Not really sure why, but I was eyeballing the figure and remembered something Jody told me, paint from the inside out.  So I did, with his boots, which is a pretty simple scheme that turns out great.  Graveyard Earth (GW), Delvan Mud Wash (GW), touch up with Graveyard Earth.  For the leather straps I just did a thin layer of Snakebite Leather (GW) and then hit the rivets with Boltgun Metal. 

Photobucket

Sunday, March 18, 2012

Project Log: Kommander Harkevich the Iron Wolf, Part II


Here is the second update to the Project Log.  Last night I sat down put on some random show from the DVR and started painting.  I figured I would get my teeth wet on Harkevich by painting up his over-coat.  Keeping in line with the official colors, I went for the drab military green that is presented in the Forces of Warmachine: Khador book.  The steps they give are pretty sweet but seeing as how I don’t have the requisite P3 paints to do it like they suggest I decided to have that unique ‘Grant’ crack at it.  I started with Thornwood Green (P3) and got a nice even flat coat (No pun intended) using multiple thin layers. 

Photobucket

After I put down the base coat, I washed the coat again with Delven Mud and then I made a mix of Thornwood Green (P3) and Traitor Green (P3).  I again thinned down the paint a little bit and then added a second layer of the Thornwood/Traitor Green mix to lighten up the cloak just a little bit.

Photobucket

Since I was mixing stuff up on a wet palette, I added another brushful of Traitor Green to the Thornwood/Traitor Mix to lighten up the cloak even farther.  I then dappled the new mix on the cloak taking care to avoid covering up all of the previous layers.  Up close, it looks pretty shiny and bright but when the model is on the table it looks like a nice and drab military green.

Photobucket

I am toying with the idea of adding another layer of highlights around the edges by mixing up some Traitor Green (P3) and Bleached Bone (GW) like I used on my Searforge Commision models.

I’ll keep taking pictures as I do the model in the stages and posting up what I have done. 

So until next update, keep on painting!

Friday, March 16, 2012

Project Log: Kommander Harkevich the Iron Wolf, Part I


Scott is at it again with another painting competition, this time for a Warcaster or Warlock from Warmachine or Hordes line.  Again all that is required is that the model has been purchased from one of the local stores, i.e. Matrix or The Armory.  Since most of my models have been purchased at The Armory, it gave me a few options to pick from: Capt. Jeremiah Kraye, Capt. Kara Sloan, Adept Sebastian Nemo (2010 Ed.), Durgan Madhammer, Kommander Harkevich, Constance Blaize, and Forward Kommander Sorcha, to name but a few…

So I was kicking ideas around in my head and at first I wanted to paint up Capt. Kara Sloan and I took out the model and decided that here is a model that I really want to paint up well and not screw up on…so I put her back down and will get back to her.  I know my skill with painting is getting better every time I touch a brush and I want to be just a little bit better before I start painting her up.  I know it is kind of silly to think that but I am going to hold off on painting her up for a bit longer. 

Capt. Jeremiah Kraye and Kommander Harkevich therefore stood at the top of my list.  So I debated on which one I wanted to paint up.  Kraye is probably my single most favorite model in the miniature line.  Talk about the sculptor capturing an emotion…Kraye speaks to me of dogged determination.  Tired and weary, trudging along but also determined to get the job done.  Such a dynamic sculpt!  Best in the line I tell you.  I pulled him out, stripped his base and put down new gravel and was getting ready to primer him up.  Harkevich is a pretty great looking model.  Lots of great detail and stance that is just chalked full of fierce pride.  Which to do, which to do?

While talking with Joel @ Brush Zealot though I changed my mind and decided to paint up Harkevich.  While looking at his sculpt and his artwork (which are almost identical…something PP should have done with Kara Sloan, but enough of that) I started thinking about doing up his base like the artwork and that little nugget of thought started itching my brain something crazy.  Something I haven’t done before is work with cork or try to do up a base on my own.  Don’t get me wrong, I love Dragon Forge Bases but this one I want to do all by my lonesome (with advice from friends of course).

Photobucket

From that point, I pulled Harkevich out of his blister, which I purchased at The Armory when he released, and got to cleaning and assembly.  I pinned his club arm in place and then let the glue dry.  Next I washed the model to remove the mold release and let it dry.  My next step was to get him on to a base, so I drilled into his over-coat and using a 1.25mm brass rod I elevated him up and pinned him to an extra 30mm base that I have.  Again letting the glue dry I then shook up my can of P3 white primer and got busy making him nice and snowy white.

As I posted a while back, I definitely hate working with white primer but (yes here is the pre-requisite but) when painting with Reds it makes it means less work and a brighter over all model.  Now that being said, in order to avoid the stupid ass white spots that will inevitably crop up on a white primer’d model, I ‘pre-shaded’ the model using the Citadel Washes.  Baal Red for the armor plates, Delven Mud for the Cloak and leather portions, Gryphonne Sepia for the metal piping, boiler, and weapon, and lastly Ogryn Flesh for his face. 

Photobucket

One of the big reasons I like pre-shading my models is that it allows me to see all the detail of the model without destroying any of that detail with thick paint.  PLUS as an added bonus it adds the first layer of shading to the model…who knew?! 

The next thought to pop into my head was to do make a Project Log out of this painting competition model so each step of the way I will be detailing what I have done and taking plenty of pictures to explain it in detail to all of my loyal readers! 

Photobucket

This is one of many entries to come as I work on Harkevich.  Expect painting legends, step-by-step instructions and how-to’s!  (I know getting a head of myself here…cause we all know I am the most award winning painter ever, never having won a painting competition in my life.  LOL!!)

Until next entry!!!